Simple File Server Using Caddy and Filebrowser
We'll set up a simple, lightweight file server on Linux using the Caddy web server paired with the appropriately named File Browser file sharing software.
Once everything is running, you'll get additional goodies—a sleek file sharing interface with password-protected, multi-user storage, a built-in image and video viewer, plus a simple code viewer/editor with syntax highlighting—all of it accessible from any desktop or mobile device with a web browser.
❓ Wait, why not just use Nextcloud?
Good question. Nextcloud is a nice personal cloud suite with file syncing, instant messaging, email client, video conferencing and a hell lot more. All of this is nice to have, but also complicates things with its PHP and MySQL dependencies. This guide is for those who just want a lightweight, no-nonsense file sharing solution with minimal dependencies.
Prerequisites
- A computer running Ubuntu, Debian or Raspberry Pi OS.
- Ample disk space to store your files.
Setup
Create the storage folder
This will be the folder that contains all the files you upload. You can use an existing folder for this, but for the sake of simplicity, create a new one in your Home directory:
mkdir ~/caddy_filebrowser
Install Caddy
Add the official Caddy repository and install the latest stable version:
sudo apt install -y debian-keyring debian-archive-keyring apt-transport-https
curl -1sLf 'https://dl.cloudsmith.io/public/caddy/stable/cfg/gpg/gpg.155B6D79CA56EA34.key' | sudo apt-key add -
curl -1sLf 'https://dl.cloudsmith.io/public/caddy/stable/cfg/setup/config.deb.txt?distro=debian&version=any-version' | sudo tee -a /etc/apt/sources.list.d/caddy-stable.list
sudo apt update
sudo apt install caddy
If you get an error like "Command not found: curl" when running the second command, install curl using sudo apt install curl, then re-run the command.
Enable and start the Caddy service:
sudo systemctl enable caddy
sudo systemctl start caddy
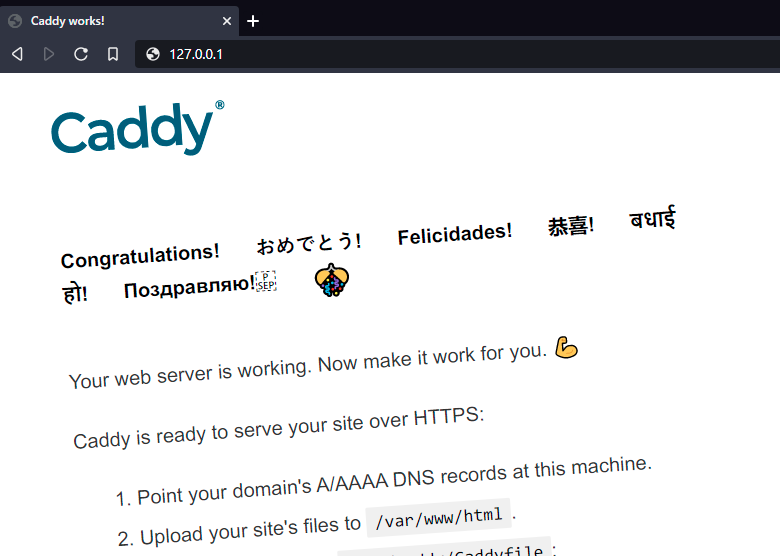
Open a browser and go to the address 127.0.0.1 (or the IP address of the server if you're using SSH to access it). If everything went well, you'll see something like this:

Install Filebrowser
curl -fsSL https://filebrowser.org/get.sh | bash
Configuration
The basic principle here is, Caddy acts as a reverse proxy for Filebrowser, which runs on port localhost:8080 by default.
Filebrowser
Run Filebrowser and tell it to use the previously created caddy_filebrowser folder for storage:
filebrowser -r ~/caddy_filebrowser
When running Filebrowser for the first time, it'll set up a local database called filebrowser.db in your Home folder. If you do not want this file to clutter your Home folder, you can specify another location using the -d option.
As an example, let's make a directory called .filebrowser_database (the dot at the beginning means it'll be a hidden directory) and put filebrowser.db inside it:
mkdir ~/.filebrowser_database
filebrowser -d ~/.filebrowser_database/filebrowser.db -r ~/caddy_filebrowser
Autostart on system boot
By default, the Filebrowser service does not start on boot time. To fix this, create a new Systemd service:
sudo nano /etc/systemd/system/caddy_filebrowser.service
If you don't know how to use the
nanotext editor, refer to this Gentoo Wiki article.
Enter the following text in the file and save:
[Unit]
Description=Run Caddy Filebrowser at startup

[Service]
# Replace with your actual username
User=username

# Substitute the paths to your storage folder and Filebrowser database file
# Make sure to use full paths instead of ~/filebrowser.db etc
ExecStart=/usr/local/bin/filebrowser -r /home/username/caddy_filebrowser -d /home/username/filebrowser.db
Type=simple

[Install]
WantedBy=multi-user.target
Enable the service:
sudo systemctl enable caddy_filebrowser.service
The Filebrowser service will now start automatically upon a system restart.
Now that Filebrowser is all set up, let's configure Caddy to make the file server accessible on the local network.
Caddy
Open the Caddy configuration file:
sudo nano /etc/caddy/Caddyfile
All you need for this guide is the following text in the file. You can delete the rest:
:80
reverse_proxy localhost:8080
Reload Caddy:
sudo systemctl reload caddy
That's it for the configuration. Now, let's access our brand-new file server on another device.
Accessing the server
If you already know the local IP address of the file server, go to http://server-ip-address in a web browser.
If you don't know the IP address of the system that your file server is running on, run
localhost -Ion the server. You'll get an output like192.168.1.15or10.0.0.6. Note it down. That's the IP address that you should access.

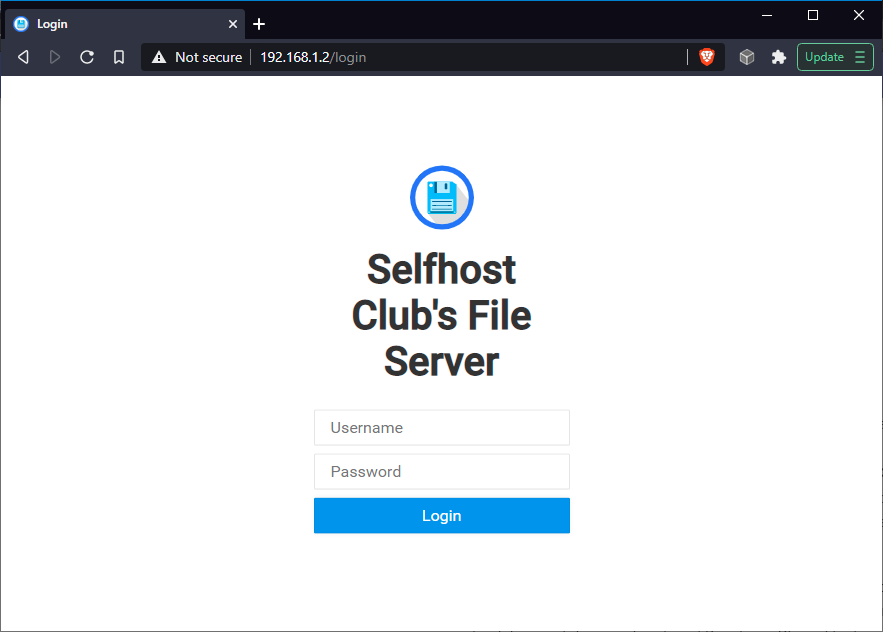
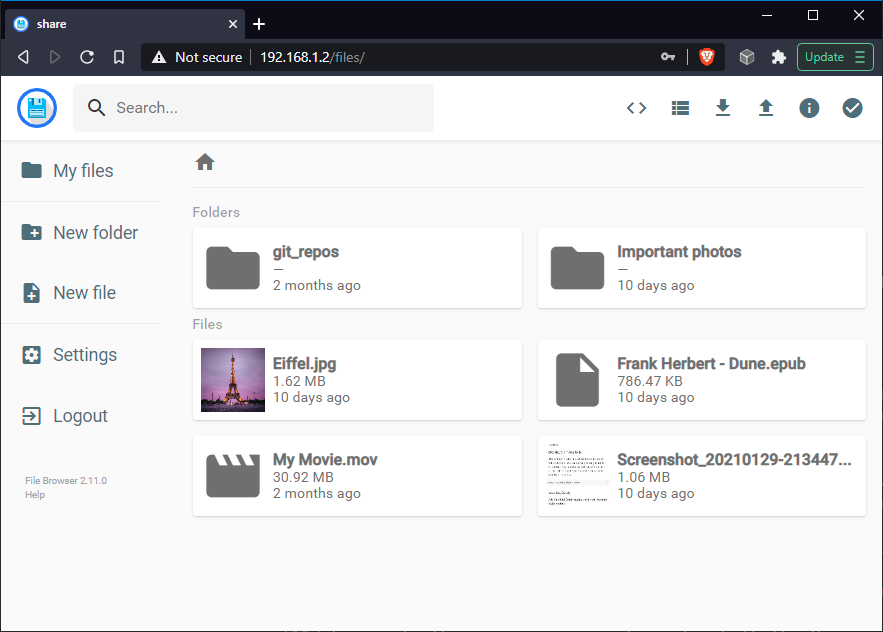
Log in to the server using admin for both the Username and Password fields. You'll see the following welcome screen (since you are starting from scratch, your file list will probably be empty):

Basic usage
The interface is relatively intuitive and easy to figure out. Here are some pointers:
- Change the default password. Go to Settings → Profile Settings → Change Password.
- By default, files open with a double click—a single click displays file-specific icons in the top-right corner.
- Change the instance name, logo and add custom styles with Settings → Global Settings → Branding.
- Add or remove user accounts with Settings → User Management.
Conclusion
Now it's time to enjoy your brand new file server. For more configuration options and troubleshooting, visit Filebrowser's home page or Caddy documentation.